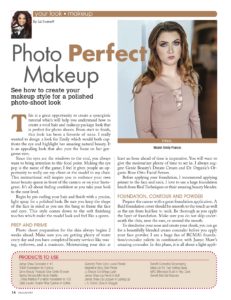
See how to create your makeup style for a polished photo-shoot look
This is a great opportunity to create a synergistic tutorial which will help you understand how to create a total hair and makeup package look that is perfect for photo shoots. From start to finish, this look has been a favorite of mine. I really wanted to design a look for Emily which would both captivate the eye and highlight her amazing natural beauty. It is an appealing look that also puts the focus on her gorgeous eyes.
Since the eyes are the windows to the soul, you always want to bring attention to this focal point. Making the eye pop is the name of the game; I feel it gives people an opportunity to really see my client or the model in my chair. This instructional will inspire you to embrace your own inner beauty queen in front of the camera or on your Instagram. It’s all about feeling confident as you take your look to the next level.
Begin by pin curling your hair and finish with a precise, light spray for a polished look. Be sure you keep the shape of the face in mind as you use the bang to frame the face and eyes. This style comes down to the soft finishing touches which make the model look and feel like a queen.
Prep and Prime
Photo shoot preparation for the skin always begins 2 weeks ahead. Make sure you are getting plenty of water every day and you have completed beauty services like waxing, eyebrows, and a manicure. Moisturizing your skin at least an hour ahead of time is imperative. You will want to give the moisturizer plenty of time to set in. I always suggest Genie Beauty’s Dream Cream and Dr. Organic’s Organic Rose Otto Facial Serum.
Before applying your foundation, I recommend applying primer to the face and neck. I love to use a large foundation brush from Real Techniques or their amazing beauty blender.
Foundation, Contour and Powder
Prepare the canvas with a great foundation application. A fluid foundation cover should be smooth to the touch as well as the eye from hairline to neck. Be thorough as you apply the layer of foundation. Make sure you do not skip underneath the chin, near the ears, or around the mouth.
To slenderize your nose and create your cheek, you can go for a beautifully blended cream concealer before you apply your face powder. I am a huge fan of RCMA’s foundation/concealer palette in combination with Jamye Shaw’s amazing concealer. In this phase, it is all about a light application to bring attention to the places you want shown on the face. Remember, the light color is your showcased area, so curate your look with care. You will also want to remember that bringing symmetry to your face is incredibly important, so be sure your angles are as even as possible.
Once you are ready to apply your powder, use a powder puff for a smoother finish. Dab or stipple stroke the powder on for lasting power. You can then go back with a large brush to sweep off any excess which may be on the skin. Be sure you also powder your neck and ears so everything is blended in the same tone.
To read the rest of the Makeup feature… Click Here
To subscribe to Pageantry magazine… Click Here
To follow Pageantry magazine on Instagram… Click Here
To follow Pageantry magazine on FaceBook… Click Here